Download
At the NHL in Holland where I study I heard teachers are often frustrated because 20 times a day students and other people come into the room, to disturb them and take them out of their concentration, to ask if they have seen a certain person, that day, or if they know where that certain person may...
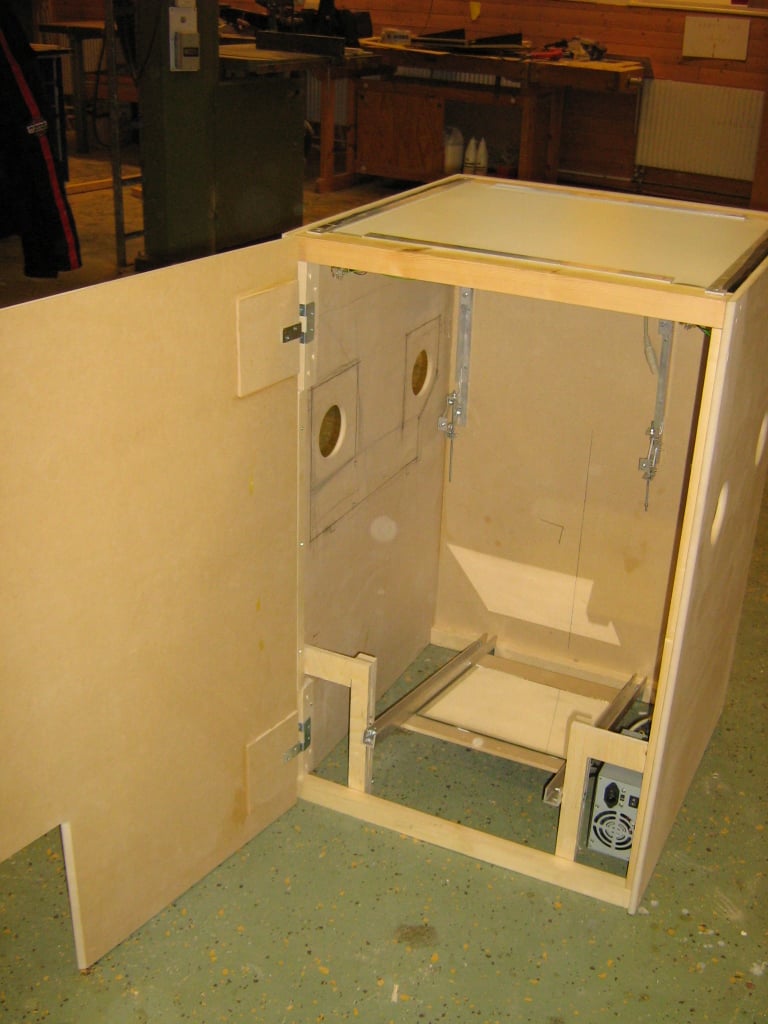
The door is attached to the back of the box, so it can be easily opened for displaying purposes.
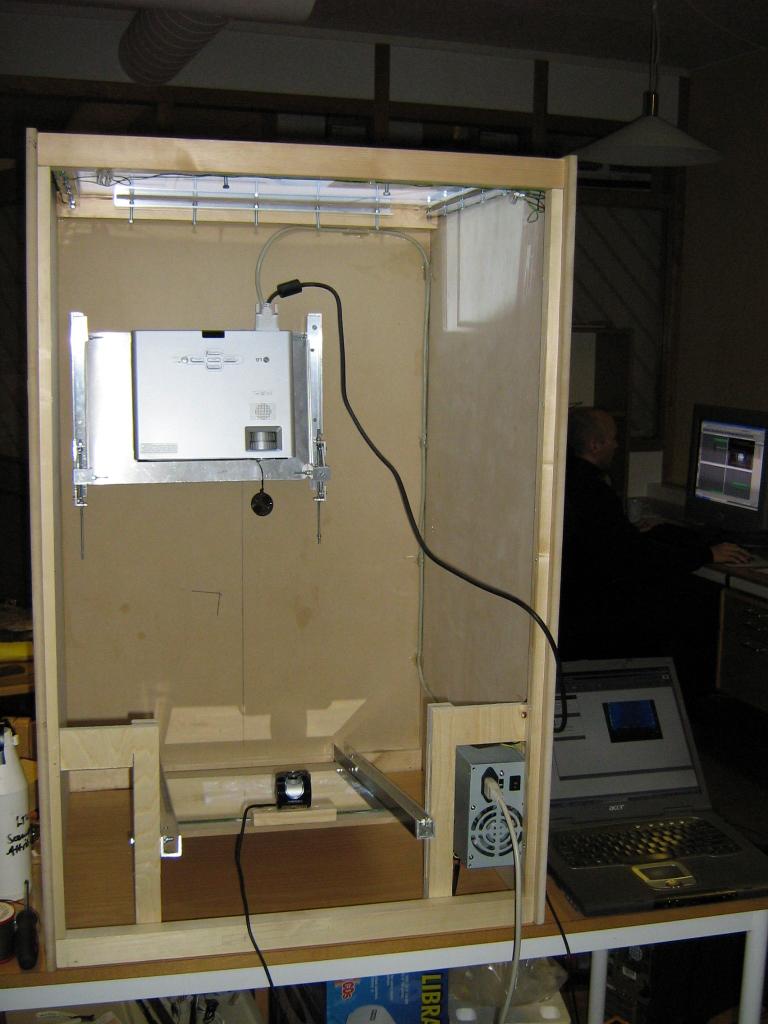
Yesterday we attached the webcam to our box. Afterwards we fine tuned the angle of the beamer and the mirror. We did a couple of quick application tests (photo app & smoke). The dimensions of our screen are not optimal because the ratio is not 4:3, but we will adjust this with software.


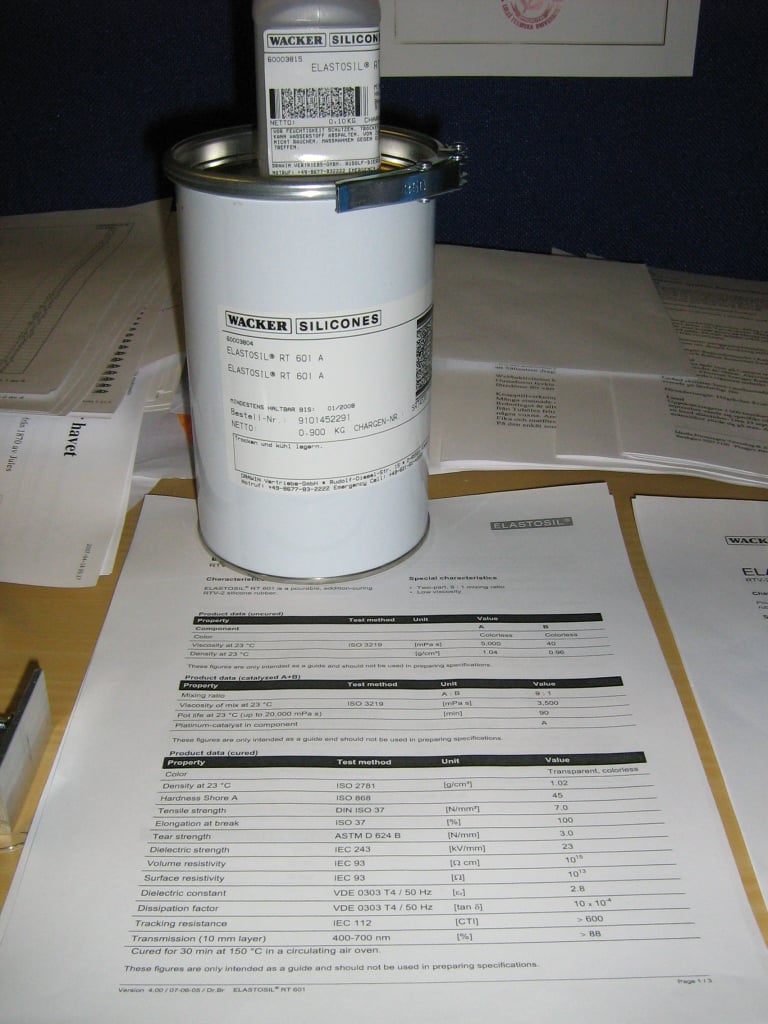
The silicone rubber sheets we prepared are made out of 2 fluids that you combine and then they cure over time. The fluids come from a company named Wacker Chemie AG. Their website is located here: http://www.wacker.com
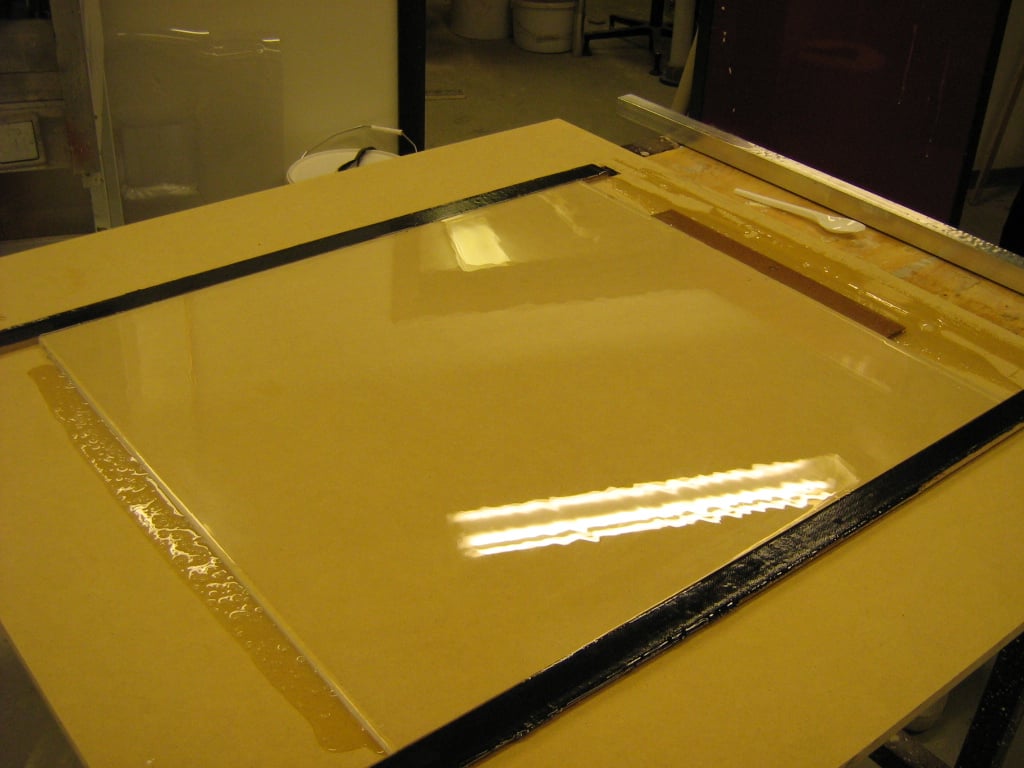
So this morning we pulled our screen from the oven ;), to further assemble it.
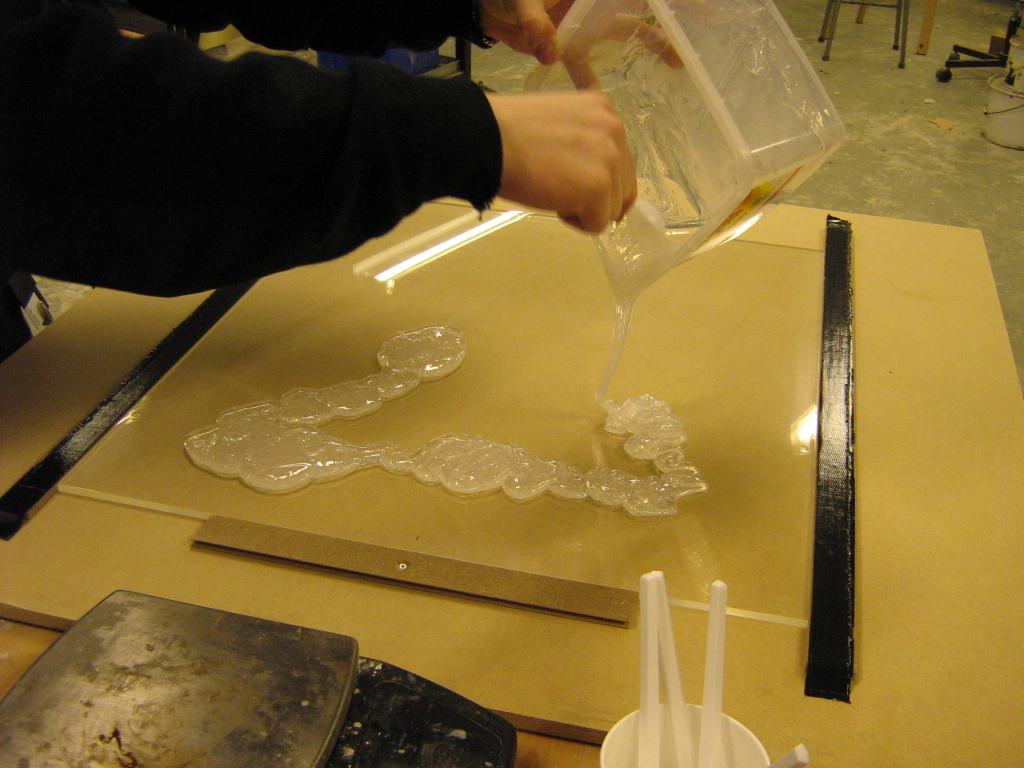
So Tuesday we made 2 test samples of silicone rubber sheets, that worked very well. Therefor we made another one for our 60*60 prototype.
I'm releasing an alpha version of my multi-touch display how-to guide.
Today Peter and I have been creating 2 silicone rubber test sheets. 1 sheet is 1 mm thick and the other one is 2 mm thick. So we can test which thickness is better. This sheet will be placed between a projection screen and the acrylic to improve the coupling between the two.