I sawed off this piece of acrylic of a bigger piece. Sizes: 46*32 cm (4:3 ratio) 8mm thick.Try to get your hands on a piece of acrylic that is cut by a factory or so. If this is not possible try to saw your acrylic at least with the finest saw you can find.
I kept the film material on the surface of the acrylic, as long as possible, to prevent it from being scratched during the sanding.
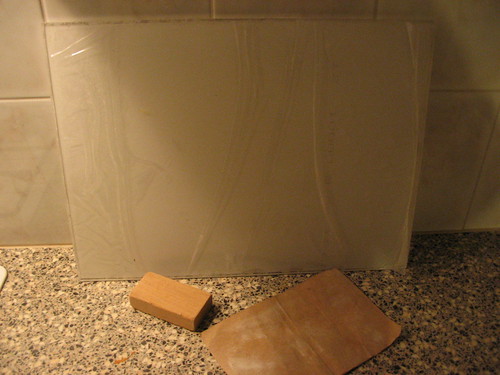
You have to make the edges of the acrylic as transparent as possible, because you want as much IR light as possible to get into the acrylic. Start sanding the edges with a rough grit sandpaper, I used 80. Afterwards I treated it with a 180, 400 and 600 grit. If you can find higher grit's, I believe they are up to 2000 or so, use them! I used a small square piece of wood while sanding, to prevent the edges from getting round.
I sanded all 4 edges (eventough i'm going to place leds against 2 sides). Because I want to make light that bounces out of the sides to be able to bounce back easily through the aluminum that I will put against the edges.
I experienced IR light leakage on the side during my first proto, that's why I want to let the light bounce back into the acrylic.
When I sanded the edges with the 600 grit sandpaper, I put olive oil on the edges. I got this tip of a friend, which works pretty good. Afterwards treat the edges with copper or silver polish. At that point the edges must be pretty transparent.
I decided not to flame polish the edges afterwards, because I thought the edges were already transparent enough and you don't want to accidentely destroy parts of your acrylic. (If you flamepolish it wrong you might create small air bubbles inside the acrylic or it might turn out black).
I found this piece of aluminum that I can put around all 4 sides of the acrylic. I drilled a 5mm hole in it to place the led inside. I turned out to work pretty nice.
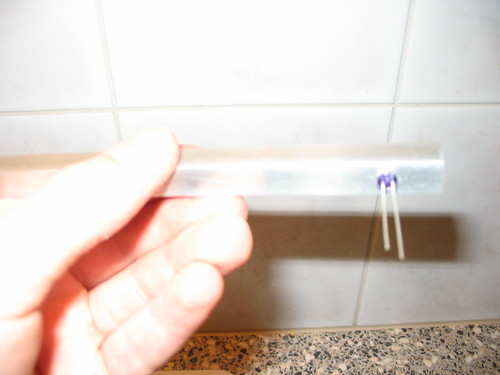
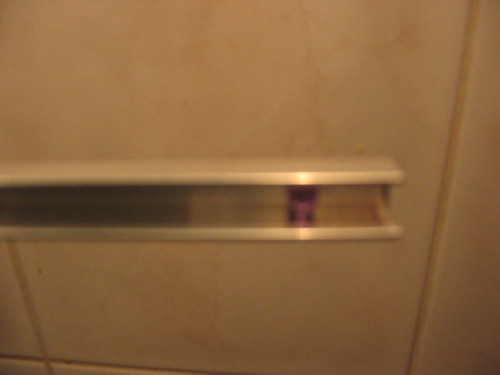
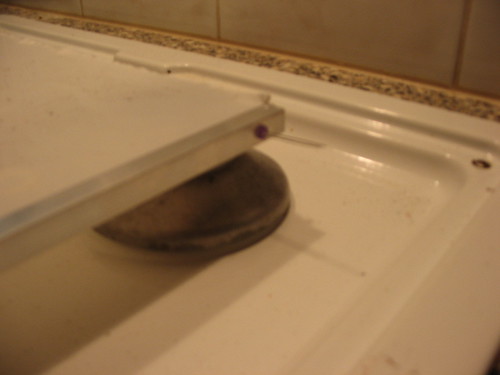
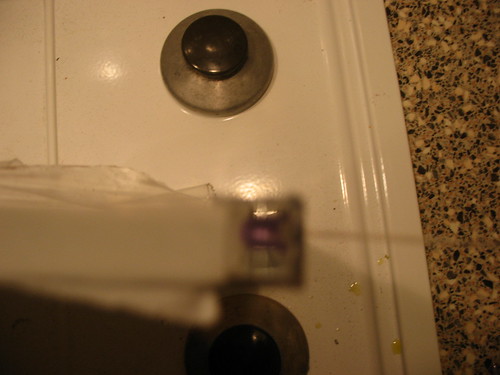
I'm sorry about the little vague pictures, my camera is a little screwed on short distances.


 Sho stick


