
 Download
Today Peter and I have been creating 2 silicone rubber test sheets. 1 sheet is 1 mm thick and the other one is 2 mm thick. So we can test which thickness is better. This sheet will be placed between a projection screen and the acrylic to improve the coupling between the two.
We mixed 2 materials, one silicone rubber fluid and another fluid to harden the material.

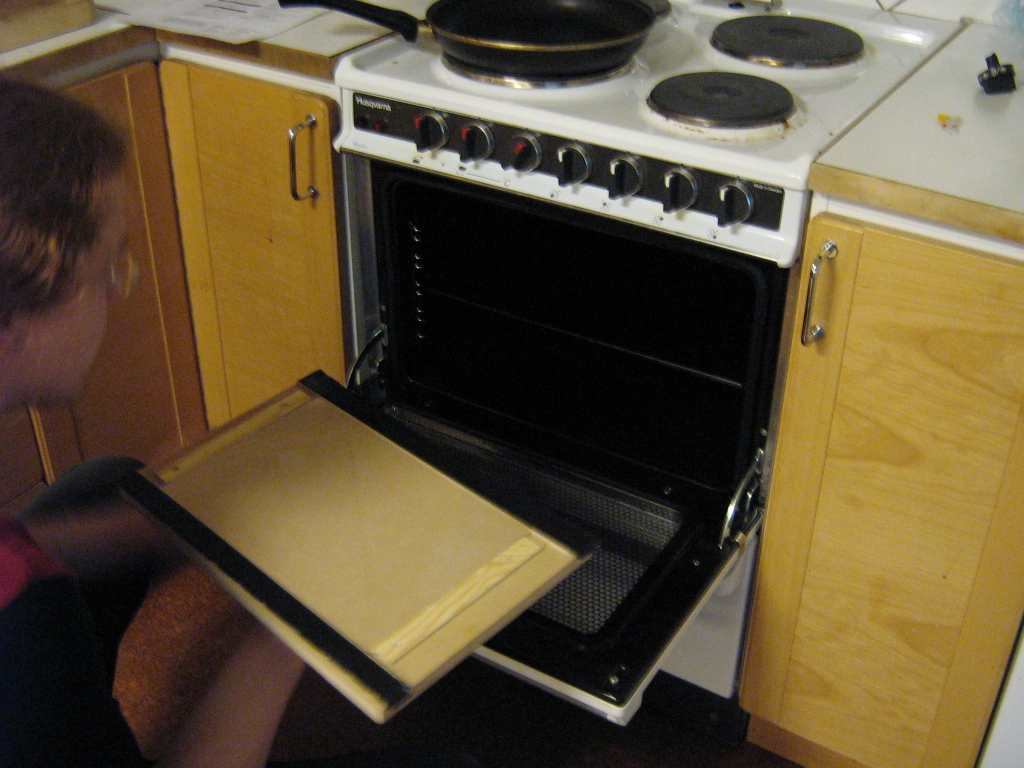
After applying the sylicone rubber onto the 2 pieces of acrylic, we placed them in the oven to make it increase the time to harden it.

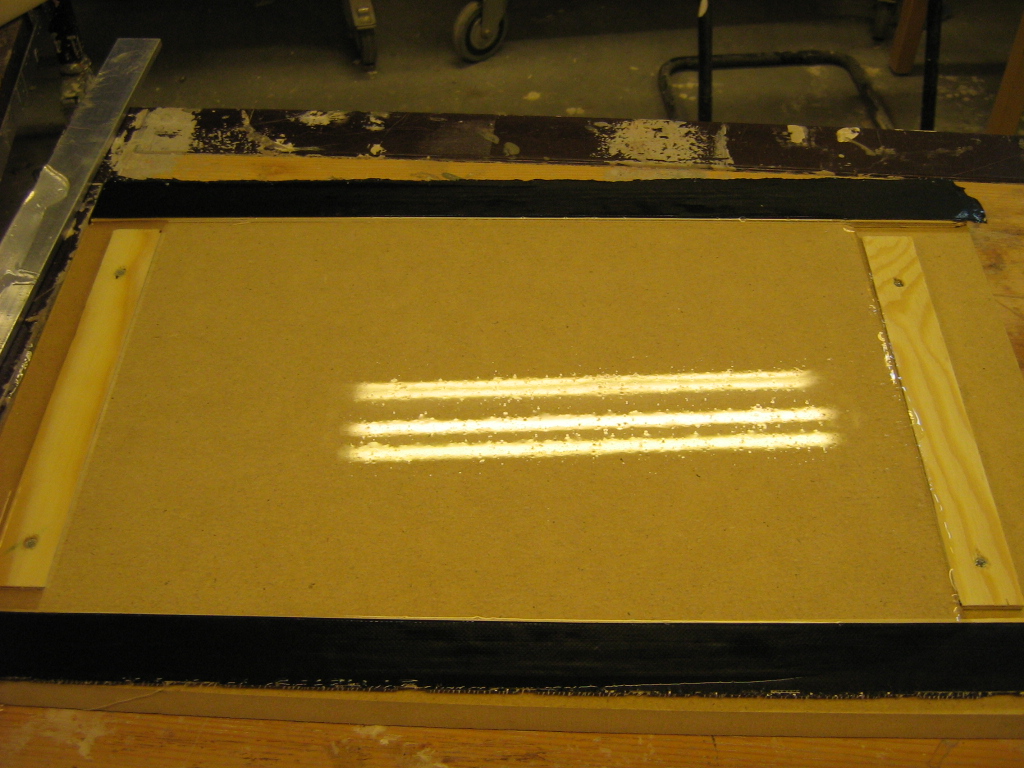
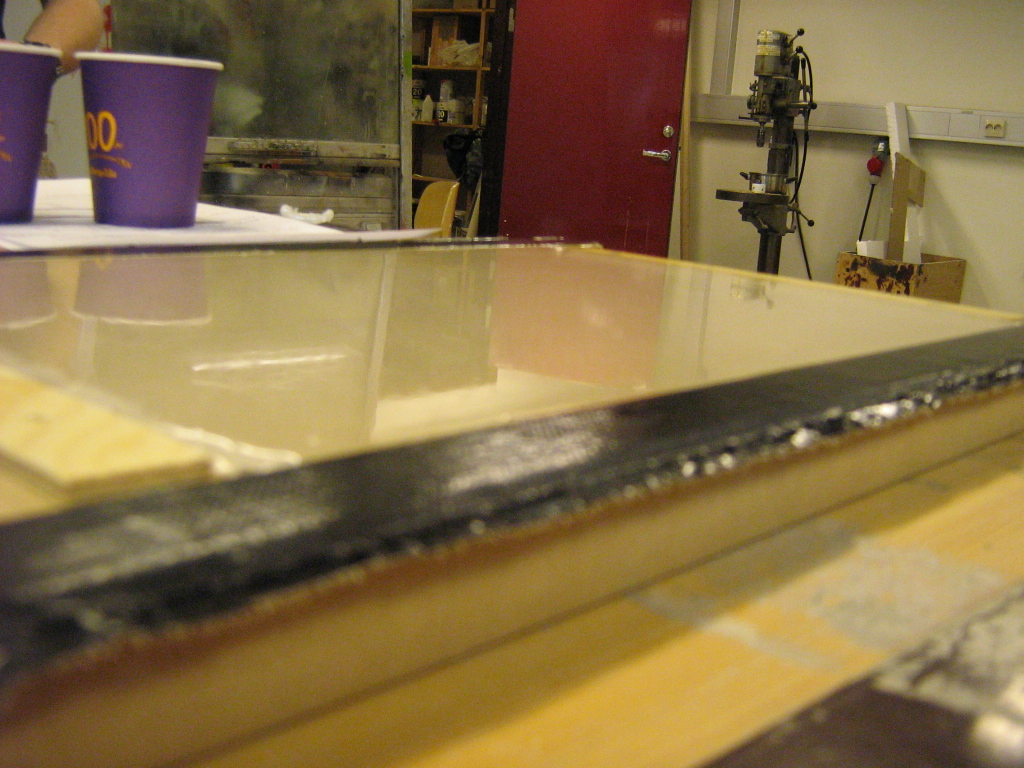
The 2 mm sample had quite a few air bubbles in it, whereas the 1 mm was completely transparent and contained no bubbles at all. Tomorrow we'll test the 2 samples.
You could decrease the amount of bubbles do, by letting the silicone rubber harden in a longer period of time. Instead of putting it in an oven with 70 degrees Celsius for 30 minutes, you could let it harden in 14 hours instead in a living room situation of 20 degrees. But we wanted to finish the samples rather quickly and since they are only test samples we decided to go with the quick solution.
We also bought 2 pieces of plastic paper material to test as a cheap projection screen solution. The projection is very good on both materials. But both materials don't block out infrared light, so in that case Rosco would be better, since it blocks out infrared light. But if you want to have a good projection surface that doesn't need to block out infrared light, you should definitely go with the much cheaper solution of these materials instead of the "official" projection screens.


